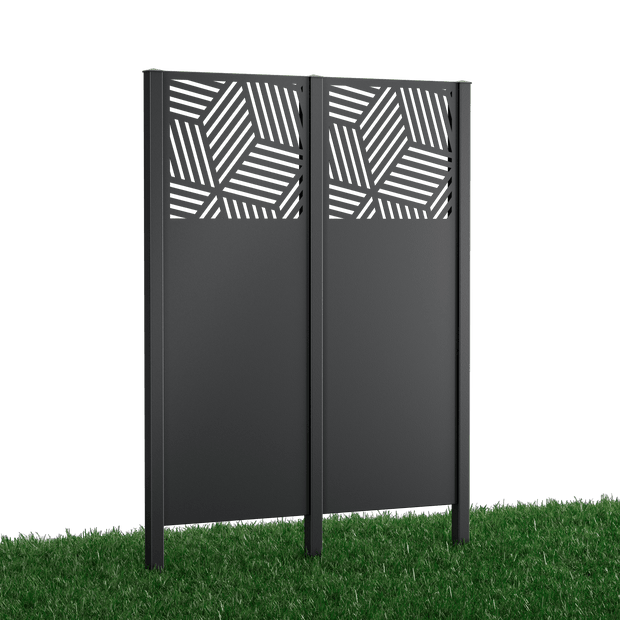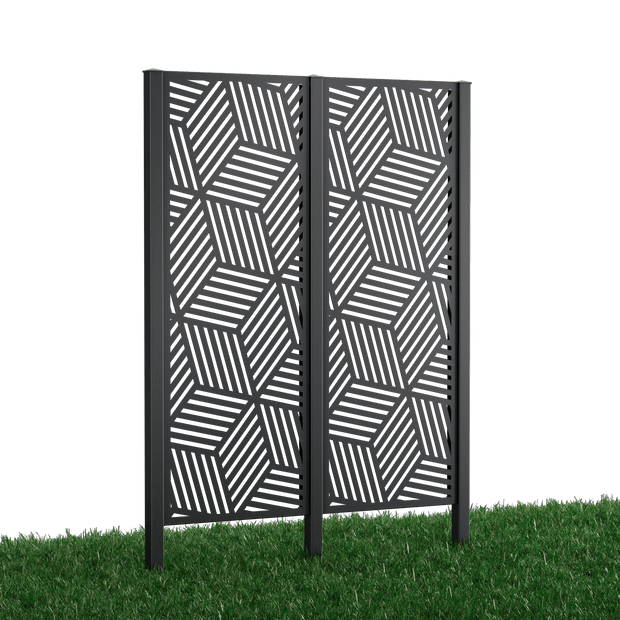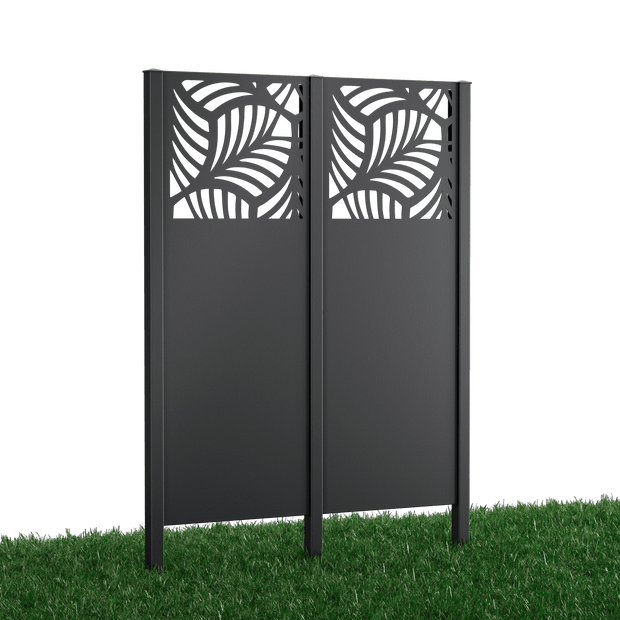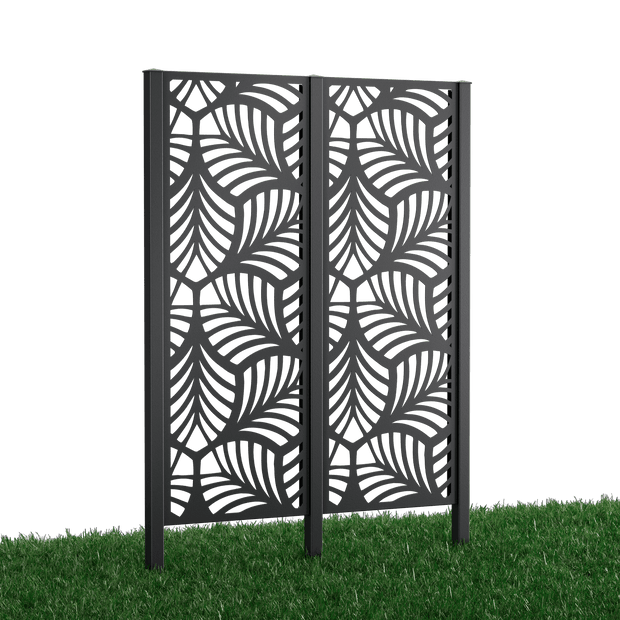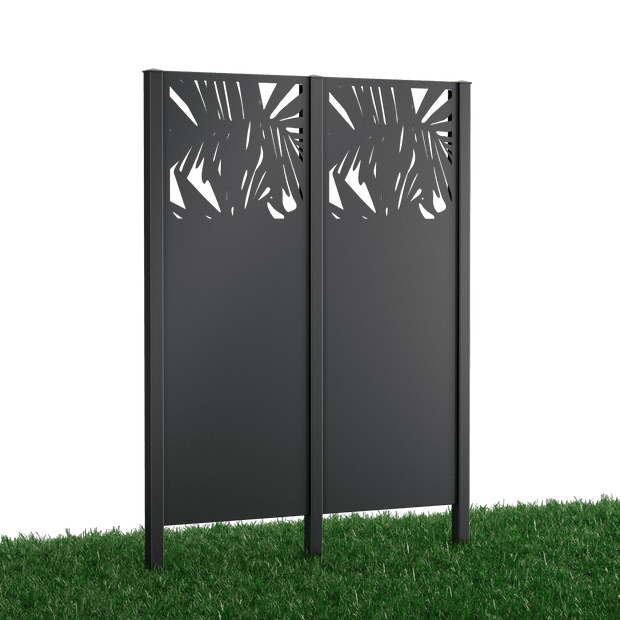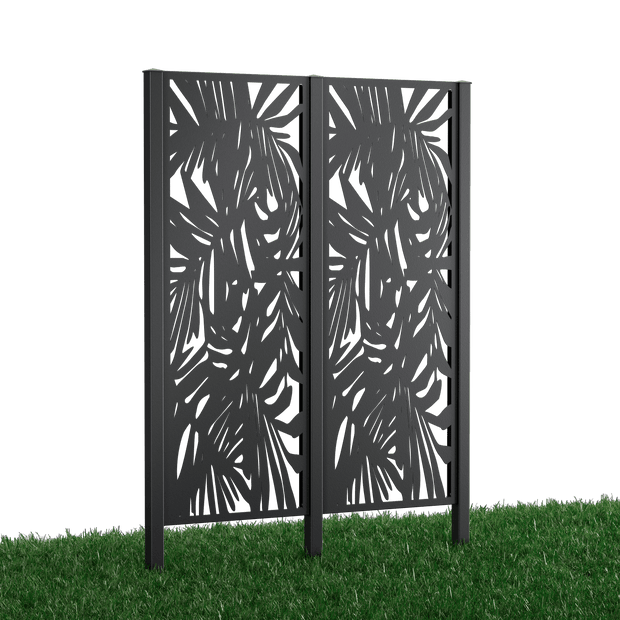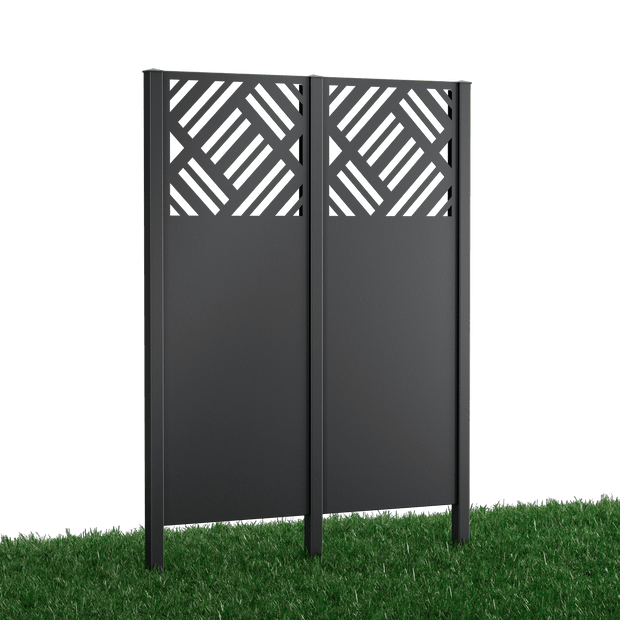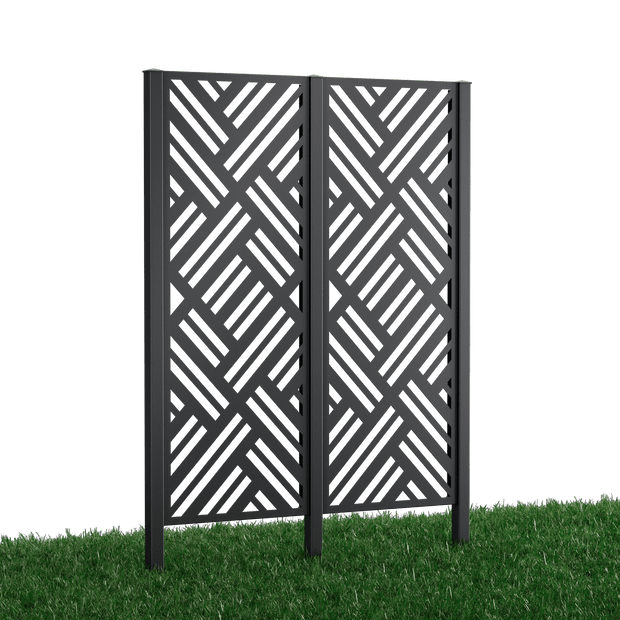

Key points at a glance
- A privacy screen kit removes the hassle of sourcing individual parts and ensures clear planning, perfectly matched components, and a fast, straightforward installation process.
- Durable metal and corten steel solutions from ELEO Express provide a stable, low-maintenance, and visually appealing alternative to timber or WPC.
- Thanks to systematic quantity calculations and easy-to-understand installation options, the process from initial planning to a finished privacy screen line is quick and reliable.
The desire for greater privacy in the garden is often linked to the need for a solution that is quick to install, robust and visually appealing. Instead of painstakingly sourcing individual components and hoping they are compatible, a privacy screen kit offers a well-thought-out and reliable approach. It combines the key components into one functional system, minimises the risk of purchasing the wrong parts and makes it much easier to calculate the overall project. The focus is on a straightforward decision: define the length, choose the appropriate design and begin installation.
This article takes a detailed look at what is included in a complete privacy screen kit, why metal and corten steel are convincing long-term material choices, how to reliably calculate the required quantity and which installation method is best suited to different surfaces. The aim is to provide a solid basis for decision-making so that planning, materials and installation all come together in a cohesive overall result.
Discover ELEO's complete privacy screen kits
What is included in our privacy screen kit?
A high-quality privacy screen system rarely fails because of the quality of the elements themselves, but rather because of the details: a missing post, an untidy connection or fixings that are unsuitable for the surface. A privacy screen kit is designed from the outset so that all key components work together perfectly. This system-based approach saves time, avoids awkward improvisation on site and makes the entire installation process predictable and efficient.
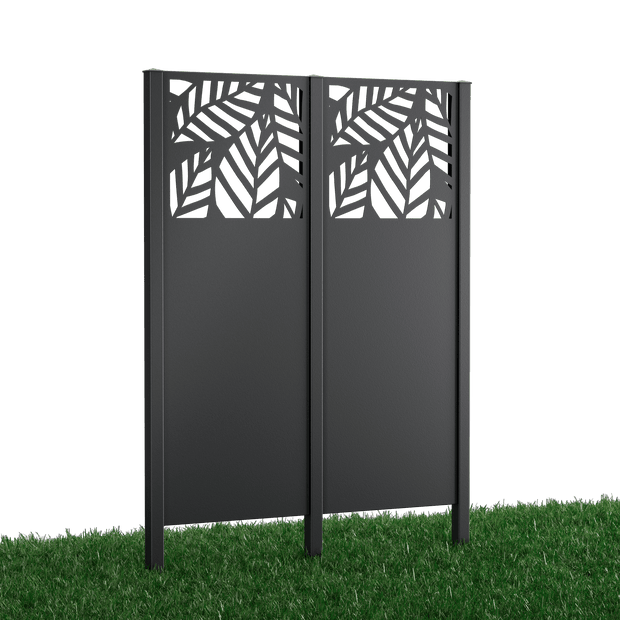
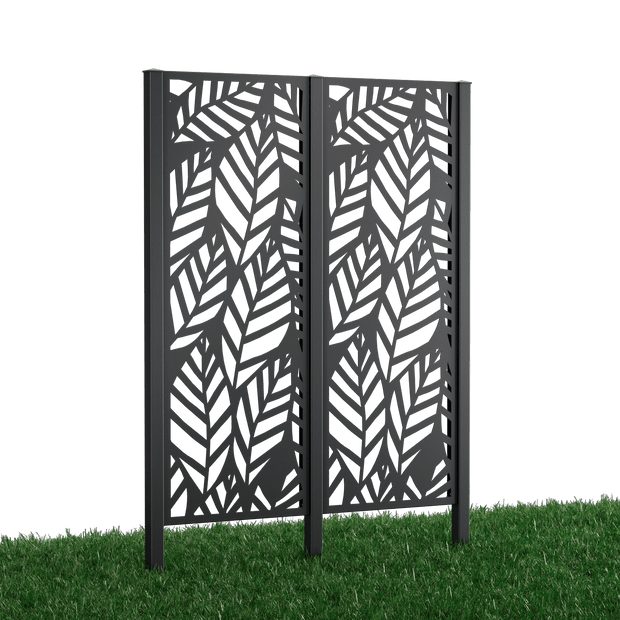
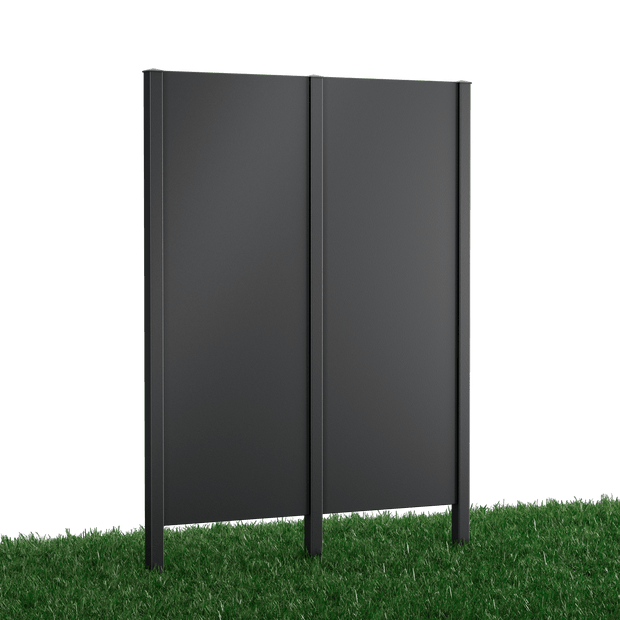
Privacy screen panels, end posts and intermediate posts – what’s included
The core of every kit consists of the privacy screen panels and the corresponding posts required for the beginning, continuation and end of the run. While the panels define the appearance and level of screening, the posts provide the necessary stability and ensure a neat finish. Precision in geometry is crucial here: dimensions, drill holes and connection variants are guaranteed to match, creating a continuous and harmonious line without the need for manual adjustments. This systematic approach really comes into its own on straight runs, where one section after another can be assembled in a consistent rhythm.
Kit with 1 intermediate post or 2 intermediate posts – which one is right?
The choice of the appropriate kit variant depends on the planned layout of the privacy screen:
- Kit with 1 intermediate post: This variant is typically suitable when the privacy screen connects to an existing structure such as a house wall or a solid pillar. It is used to extend an existing line where the beginning or end is structurally predetermined.
- Kit with 2 intermediate posts: This kit is ideal for creating a free-standing, independent privacy screen line made up of several sections. In this case, the entire post structure is formed from the system itself, allowing maximum flexibility in placement.
A simple sketch of the layout with the post positions marked as fixed points can help with planning. This quickly shows how many “continuous” posts are required along the run and which kits are the right choice.
What else you need for installation
A complete privacy screen kit covers the essential components. However, depending on the surface and installation situation, additional mounting accessories may still be required. This is not a flaw, but a logical consequence of varying on-site conditions. The following should also be planned for:
- Precision tools for alignment (spirit level, laser, string line) and for preparing post holes.
- Fixing materials precisely matched to the chosen installation method (e.g. heavy-duty anchors for concrete foundations or anchors for bolt-down post bases).
- Materials for creating a stable foundation, such as fast-setting concrete for point foundations.
The key decision is made when choosing the installation method: concrete in or bolt down? This decision determines which accessories are required and how the surface must be prepared.
Metal privacy screen kits – why metal is the best choice

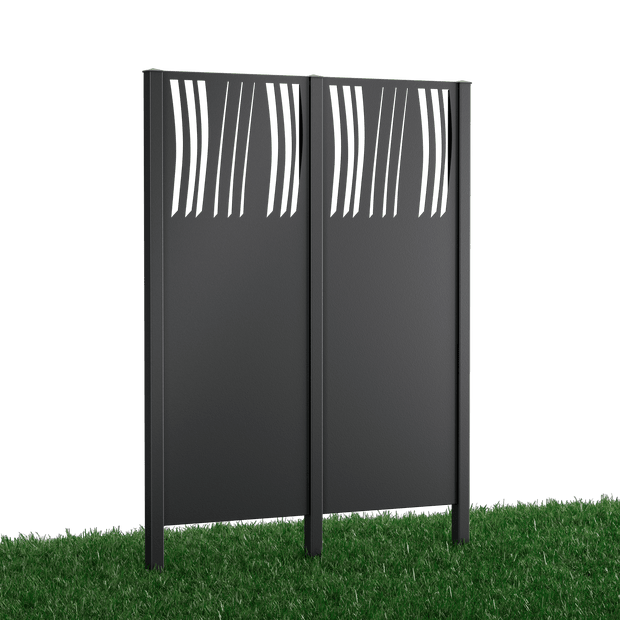
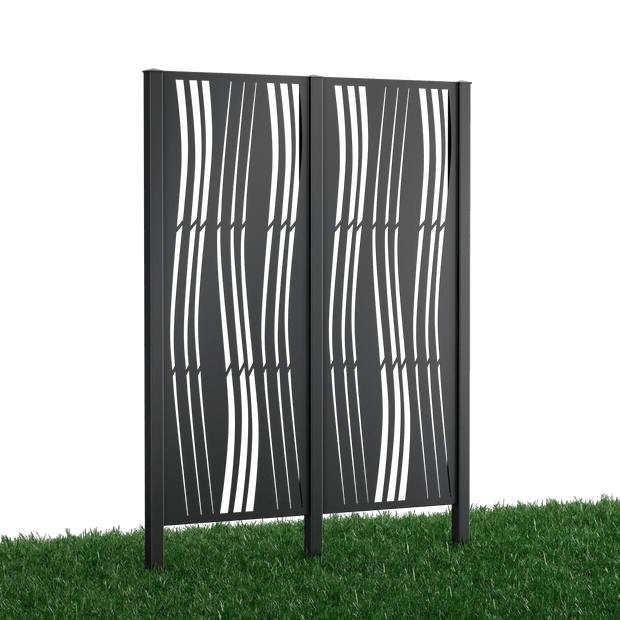
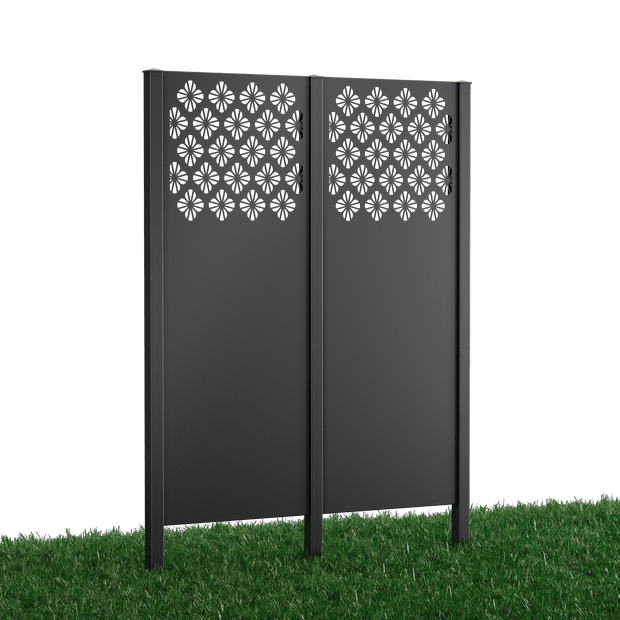
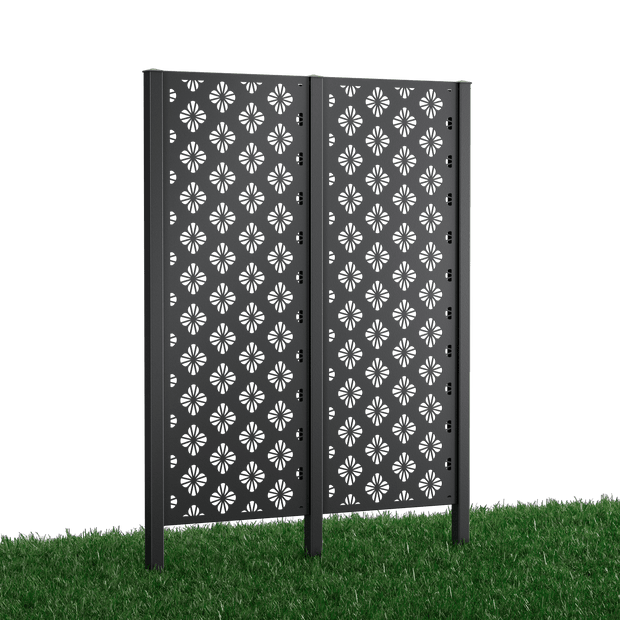
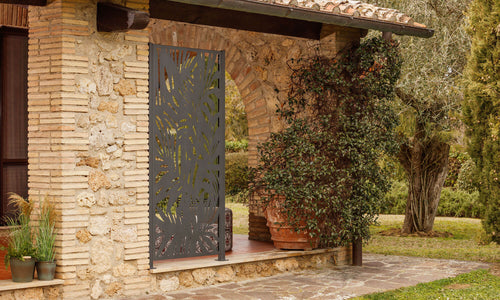
Shown here: Romna privacy screen complete kit, powder-coated anthracite © ELEO
A privacy screen should not only look good for one season, but for many years to come. This is where a metal privacy screen kit truly shows its strengths, especially in areas where wood and WPC require compromises: changing weather conditions, the desire for a consistently clean appearance and a stable, premium overall impression. One major advantage in everyday garden use is that a metal privacy screen does not demand constant attention and maintenance.
Durable, low-maintenance and weather-resistant
Metal is characterised by its exceptional dimensional stability. While wood expands and contracts, warps, fades to grey or requires regular protective coatings, a professionally installed metal construction remains reliably stable over the long term. In practice, this means: no repainting, no replacing brittle boards and no unpleasant surprises after heavy rain, frost or intense UV exposure. This robustness also proves its worth in daily use. Contact with play equipment, garden tools or robotic lawn mowers does not immediately cause dents, splintering or visible warping in a solid metal system.
Metal vs WPC vs wood – a brief material comparison (table)
| Criterion | Metal / corten steel | WPC | Wood |
|---|---|---|---|
| Maintenance effort | Very low, cleaning is sufficient | Moderate, surface-dependent | High, regular protection required |
| Dimensional stability | Very high when correctly installed | Good (temperature-dependent expansion) | Moderate (moves and tends to warp) |
| Long-term appearance | Consistent (metal) or elegant patina (corten) | May fade due to UV exposure | Changes significantly (greying) |
| Weather resistance | Excellent | Good, but susceptible to standing moisture | Depends on maintenance and wood type |
Who is a complete privacy screen kit the right choice for?
A complete privacy screen kit is the ideal solution for anyone who wants to achieve a harmonious and professional result quickly. Instead of getting lost in technical details, the decision is made in favour of a system that works as one complete unit. This is not only convenient, but also cost-effective: fewer incorrect purchases mean fewer repeat orders, returns and delays on site.
Ideal applications – garden, patio, pool and balcony
A privacy screen is more than just a boundary; it is a tool for shaping outdoor spaces. It creates privacy, reduces wind, structures open areas and brings a sense of calm to outdoor environments. A kit system is particularly suitable for:
- Garden: As a clear boundary to neighbouring properties or to create separate zones, for example to conceal a compost area or frame a seating space.
- Patio: As side protection from prying eyes, creating a greater sense of comfort and enclosure.
- Pool area: As a stylish and opaque enclosure for creating a private and undisturbed oasis.
- Balcony: Provided the substructure has sufficient load-bearing capacity and secure fixing can be guaranteed.
The deliberately minimalist appearance of metal and corten steel blends harmoniously into both modern and natural-style gardens without appearing intrusive.
Suitable for DIY – installation made simple
Many homeowners want to carry out the installation themselves without relying on professional workshop equipment or specialist expertise. This is exactly where the kit principle shows its strength: repetitive work steps, clearly defined post positions and a modular structure that repeats section by section. Careful alignment, a suitable surface and correctly positioned posts ensure a stable and visually flawless result. The most important rule for self-installation is: invest enough time in preparation. A precisely tensioned measuring tape, a string line for alignment and accurately checked spacing between posts save time-consuming corrections later on.